给阿里云docker中的Nginx配置SSL证书开启https服务
:::tip 文章更新历史
2022/05/29 fix:目前无法访问 https 问题已解决,根源是 docker 的443 端口忘了放。
:::
申请 SSL 证书
我申请的是免费版的,阿里云支持 1 年申请一次,最多部署 20 个。
地址:
阿里云免费 SSL 证书购买
然后可以下载部署
证书管理地址:
免费 SSL 证书管理
我下载的是 nginx 版本。同时支持的还有 tomcat、Apache、IIS 等。
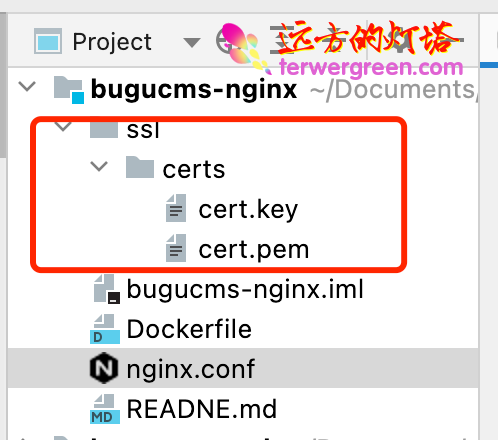
上传者证书到服务器
我是把它放到项目目录,后面用 docker 的 volume 去映射,这样可以免去上传的麻烦。
安装 Nginx 的 ssl 模块
检查Nginx 的 SSL 模块
安装 vscode 的 SSH 远程扩展和 docker 扩展,然后打开 docker 容器 shell
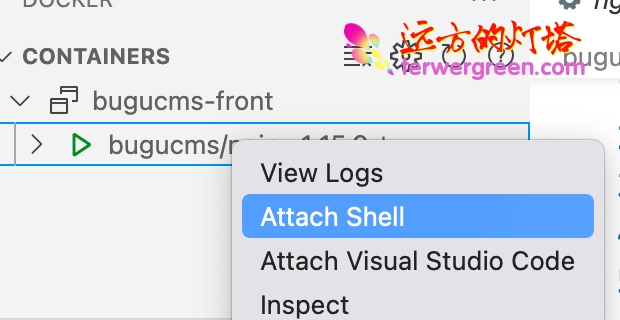
输入以下命令
结果如下
1
2
3
4
5
6
7
8
9
| > Executing task: docker exec -it 154d27fd10c46b46958c05edc8736e73ba2e8618b23b6d615db3a532077b2250 sh <
/
nginx version: nginx/1.15.9
built by gcc 8.2.0 (Alpine 8.2.0)
built with OpenSSL 1.1.1a 20 Nov 2018
TLS SNI support enabled
configure arguments: --prefix=/etc/nginx --sbin-path=/usr/sbin/nginx --modules-path=/usr/lib/nginx/modules --conf-path=/etc/nginx/nginx.conf --error-log-path=/var/log/nginx/error.log --http-log-path=/var/log/nginx/access.log --pid-path=/var/run/nginx.pid --lock-path=/var/run/nginx.lock --http-client-body-temp-path=/var/cache/nginx/client_temp --http-proxy-temp-path=/var/cache/nginx/proxy_temp --http-fastcgi-temp-path=/var/cache/nginx/fastcgi_temp --http-uwsgi-temp-path=/var/cache/nginx/uwsgi_temp --http-scgi-temp-path=/var/cache/nginx/scgi_temp --user=nginx --group=nginx --with-http_ssl_module --with-http_realip_module --with-http_addition_module --with-http_sub_module --with-http_dav_module --with-http_flv_module --with-http_mp4_module --with-http_gunzip_module --with-http_gzip_static_module --with-http_random_index_module --with-http_secure_link_module --with-http_stub_status_module --with-http_auth_request_module --with-http_xslt_module=dynamic --with-http_image_filter_module=dynamic --with-http_geoip_module=dynamic --with-threads --with-stream --with-stream_ssl_module --with-stream_ssl_preread_module --with-stream_realip_module --with-stream_geoip_module=dynamic --with-http_slice_module --with-mail --with-mail_ssl_module --with-compat --with-file-aio --with-http_v2_module
/
|
如果出现 configure arguments: –with-http_ssl_module , 则已安装(下面的步骤可以跳过,进入 nginx.conf 配置)。
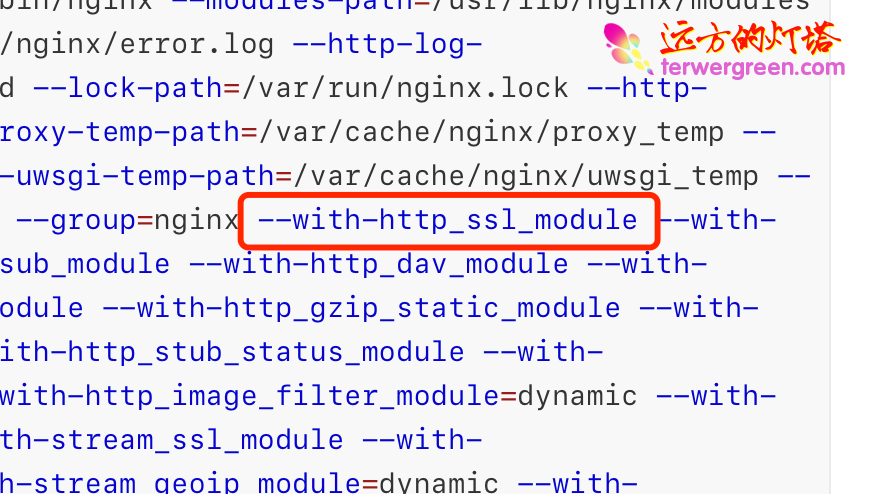
可以看到 docker 版的 nginx 已经包含了 https 模块,我们只需要配置即可。如果是自安装版本需要自己下载 https 模块安装。
Nginx.conf 配置
打开 nginx.conf 文件,新增 https 的 server:
1
2
3
4
5
6
7
8
9
10
11
12
13
14
15
16
17
18
19
20
21
22
23
24
25
26
27
28
29
30
31
|
server {
listen 443 ssl;
charset utf-8;
server_name terwergreen.com www.terwergreen.com;
ssl_certificate /etc/ssl/certs/cert.pem;
ssl_certificate_key /etc/ssl/certs/cert.key;
ssl_session_timeout 5m;
ssl_ciphers ECDHE-RSA-AES128-GCM-SHA256:ECDHE:ECDH:AES:HIGH:!NULL:!aNULL:!MD5:!ADH:!RC4;
ssl_protocols TLSv1 TLSv1.1 TLSv1.2;
ssl_prefer_server_ciphers on;
location / {
root /usr/local/docker/nginx/www;
index index.html;
}
}
|
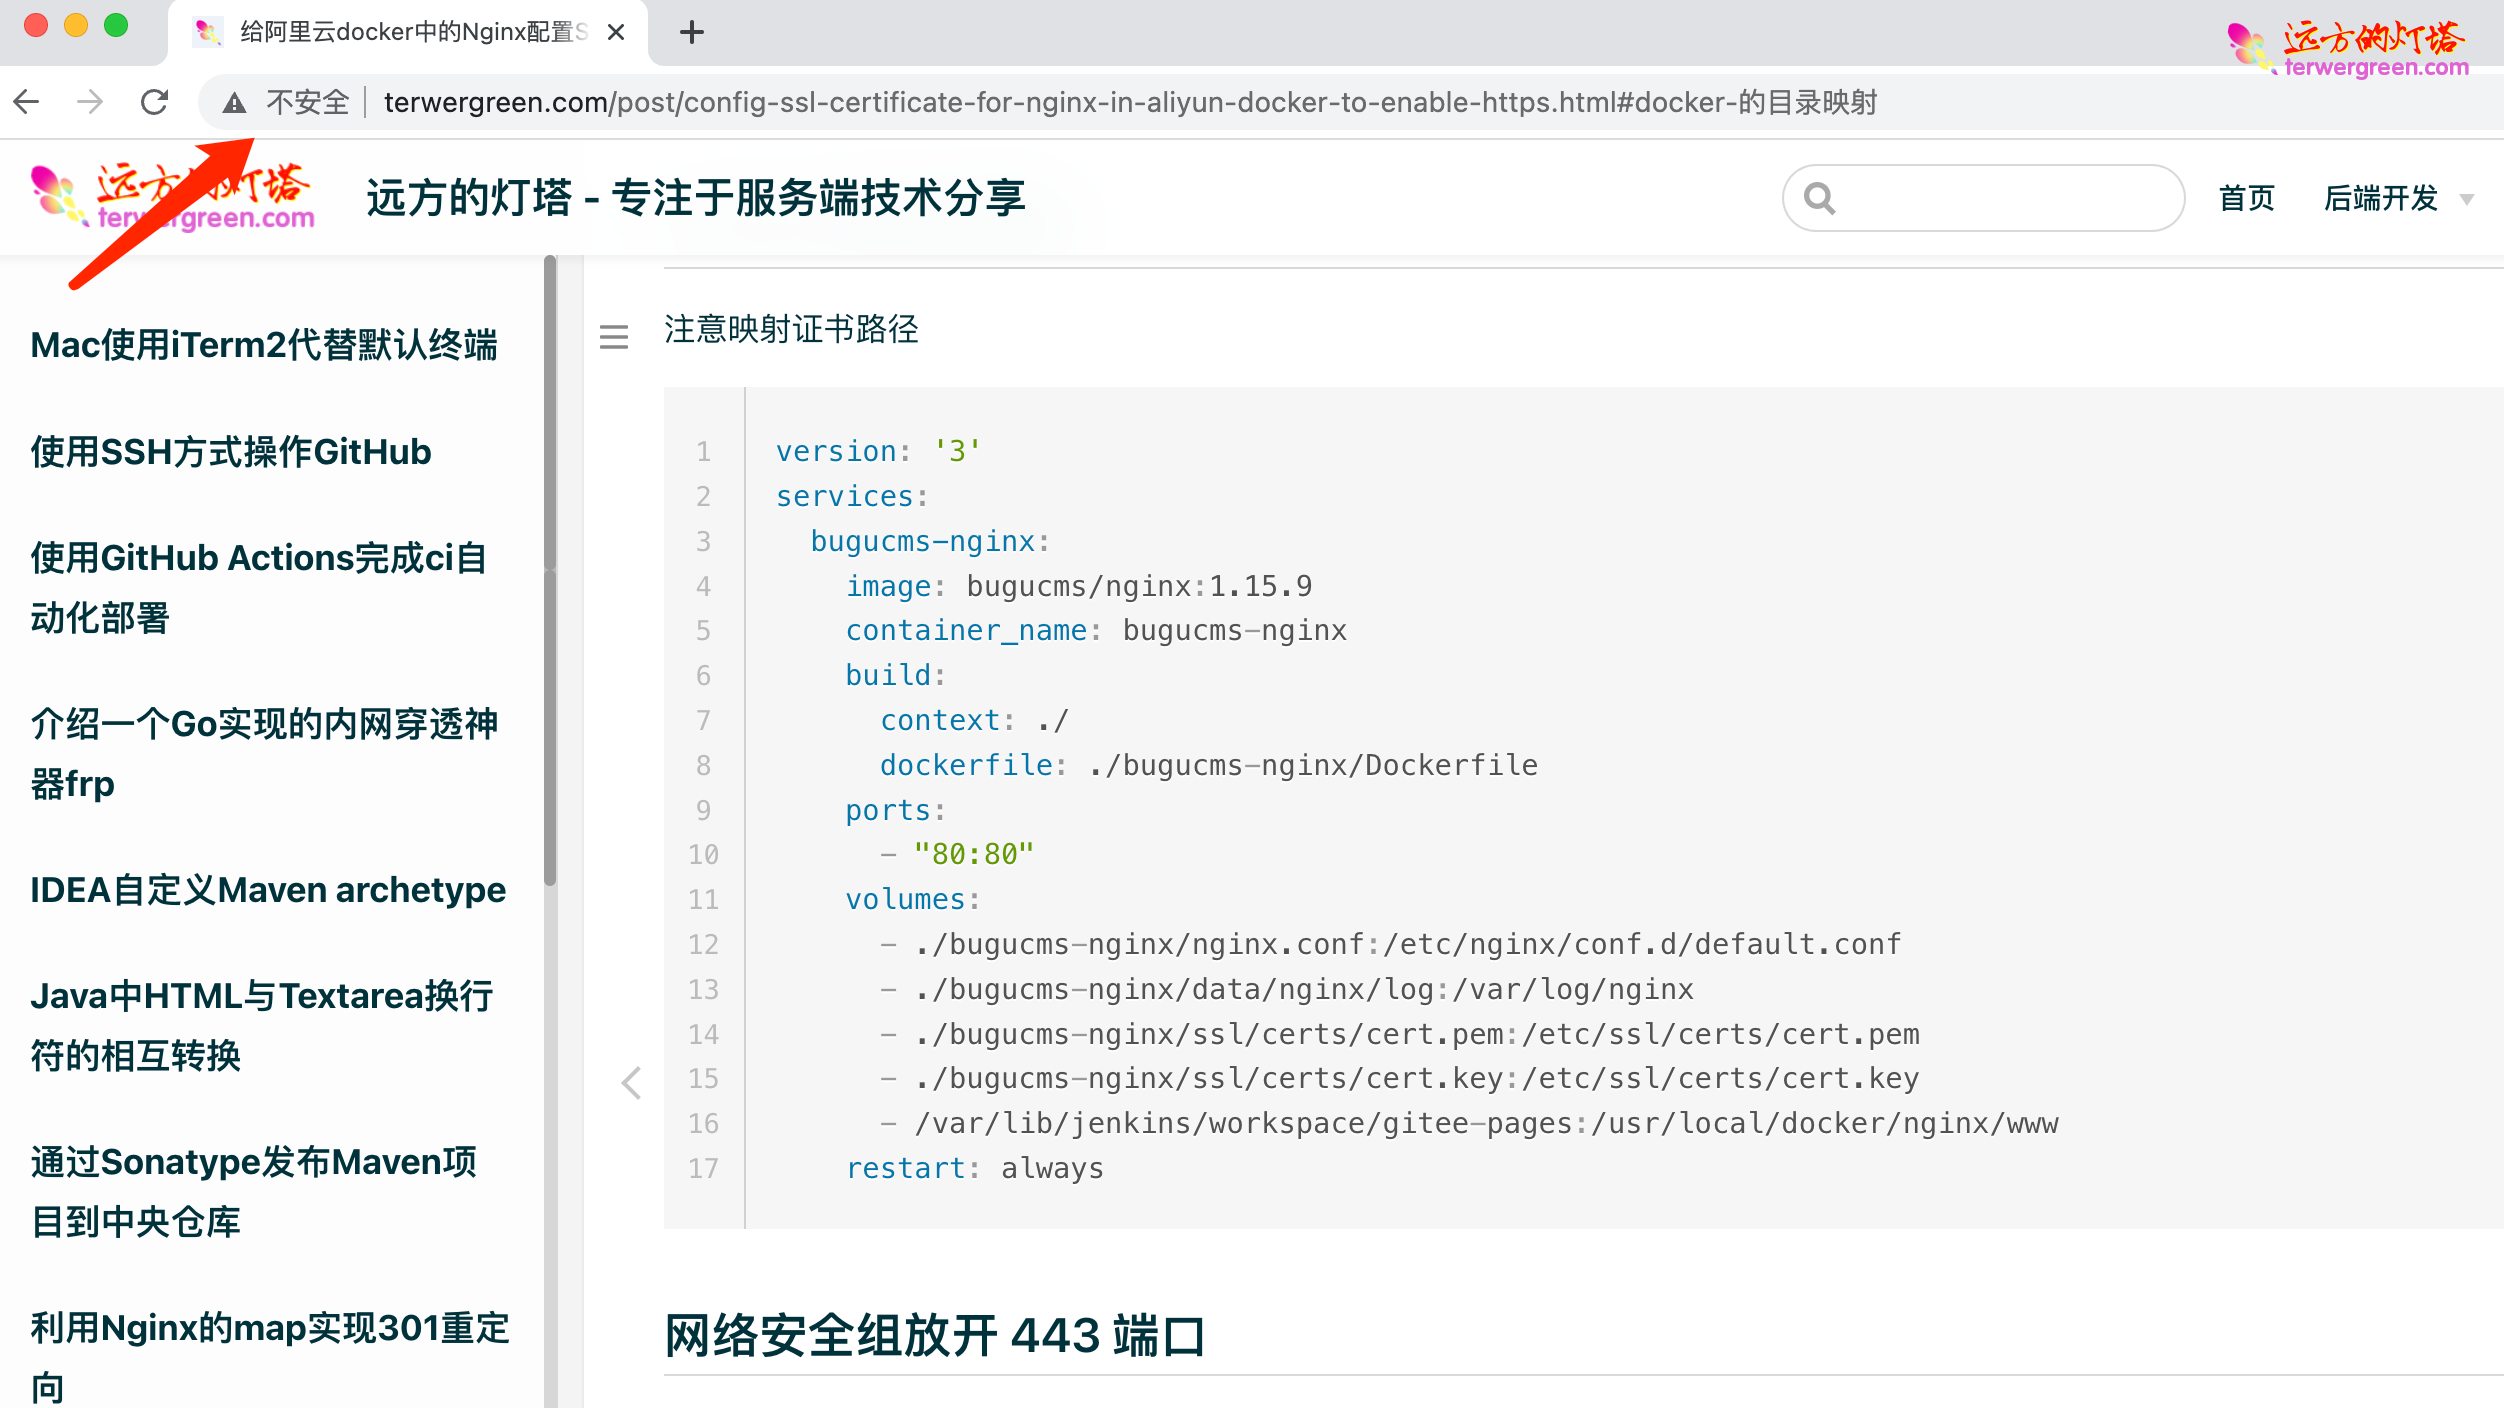
docker 的目录映射
注意映射证书路径
1
2
3
4
5
6
7
8
9
10
11
12
13
14
15
16
17
18
| version: '3'
services:
bugucms-nginx:
image: bugucms/nginx:1.15.9
container_name: bugucms-nginx
build:
context: ./
dockerfile: ./bugucms-nginx/Dockerfile
ports:
- "80:80"
- "443:443"
volumes:
- ./bugucms-nginx/nginx.conf:/etc/nginx/conf.d/default.conf
- ./bugucms-nginx/data/nginx/log:/var/log/nginx
- ./bugucms-nginx/ssl/certs/cert.pem:/etc/ssl/certs/cert.pem
- ./bugucms-nginx/ssl/certs/cert.key:/etc/ssl/certs/cert.key
- /var/lib/jenkins/workspace/gitee-pages:/usr/local/docker/nginx/www
restart: always
|
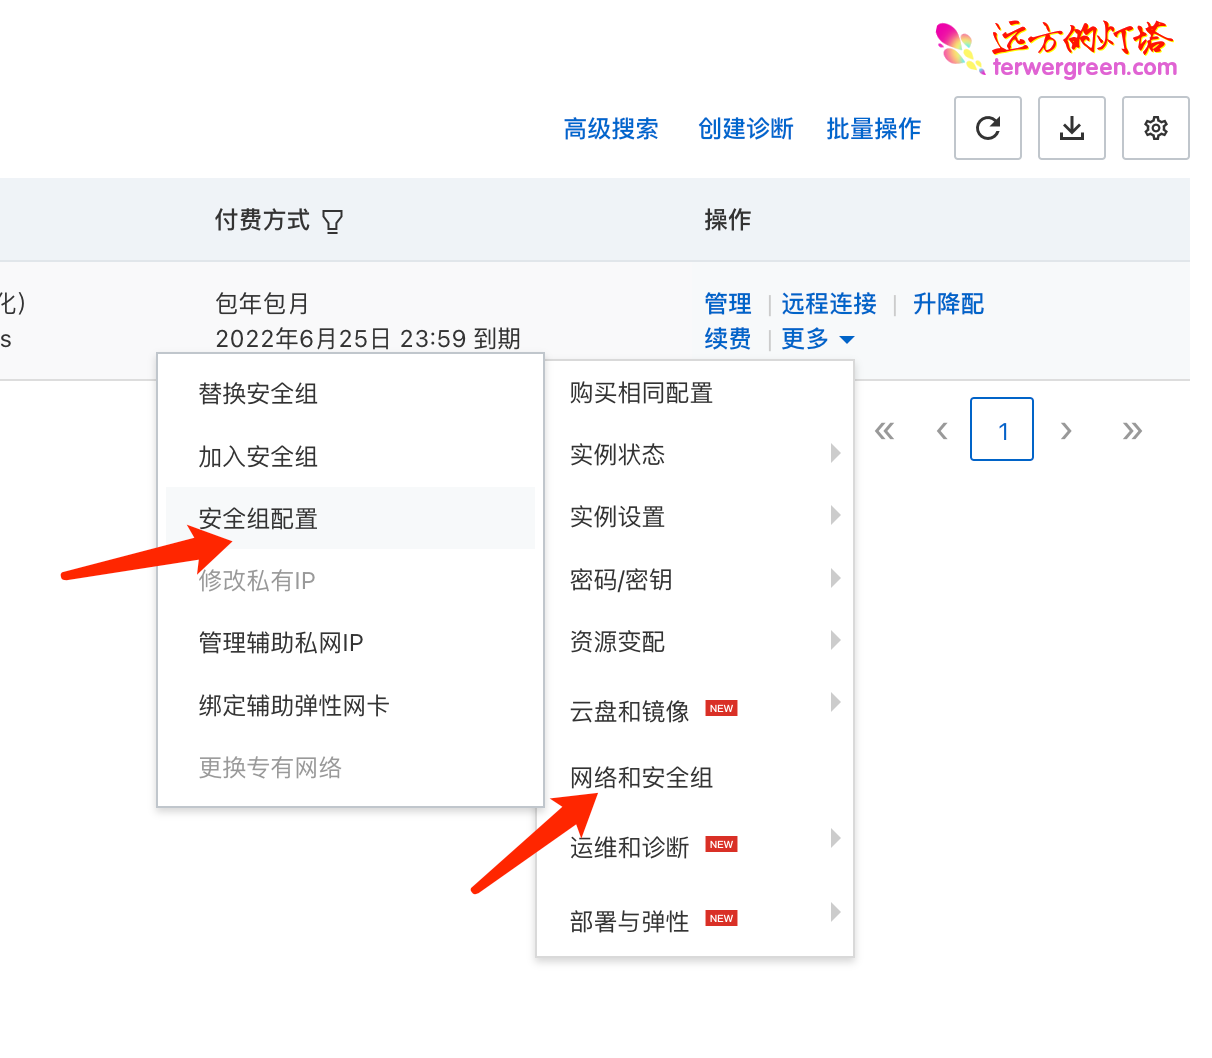
网络安全组放开 443 端口
重启 Nginx 验证
1
| docker-compose up -d --build
|
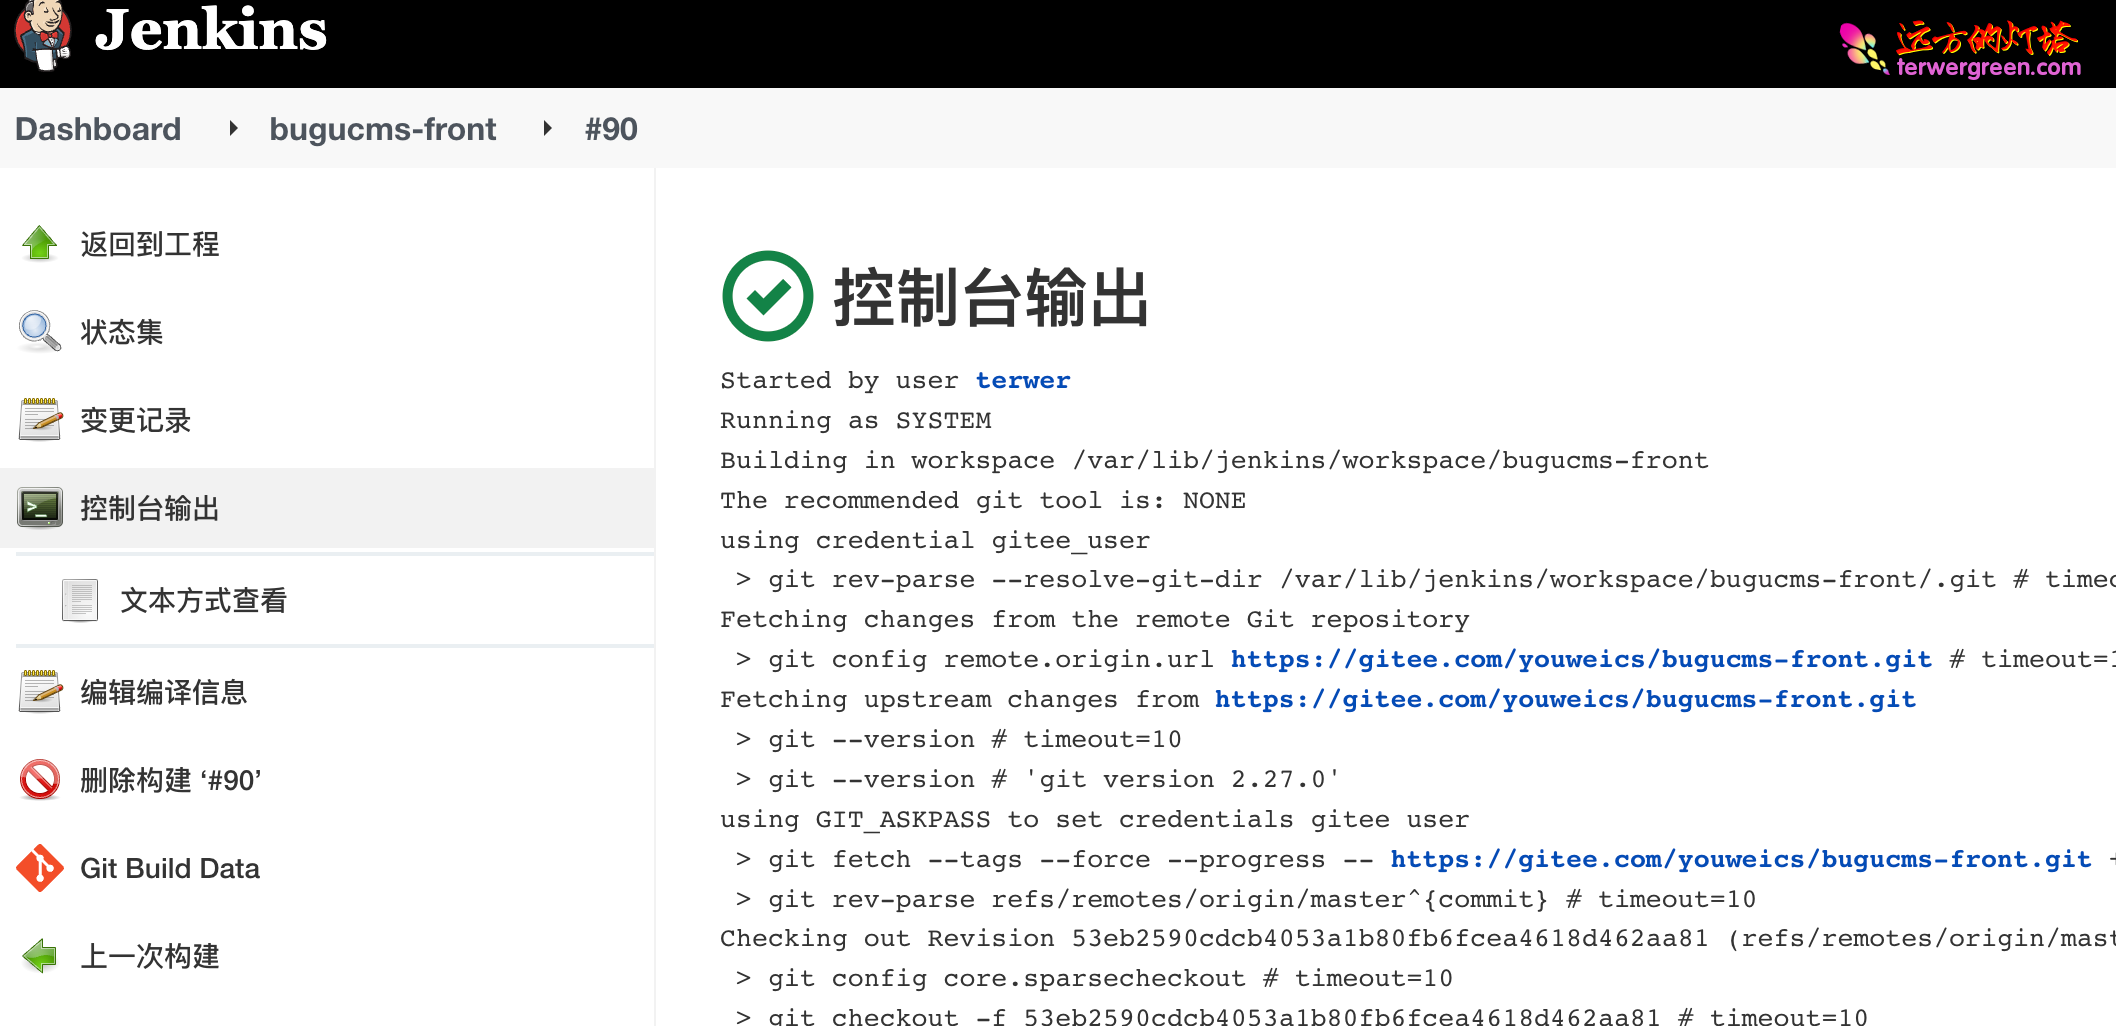
直接重新开启 jenkins 部署也可以
验证 https 服务
原来的 http 模式
加上 https 之后
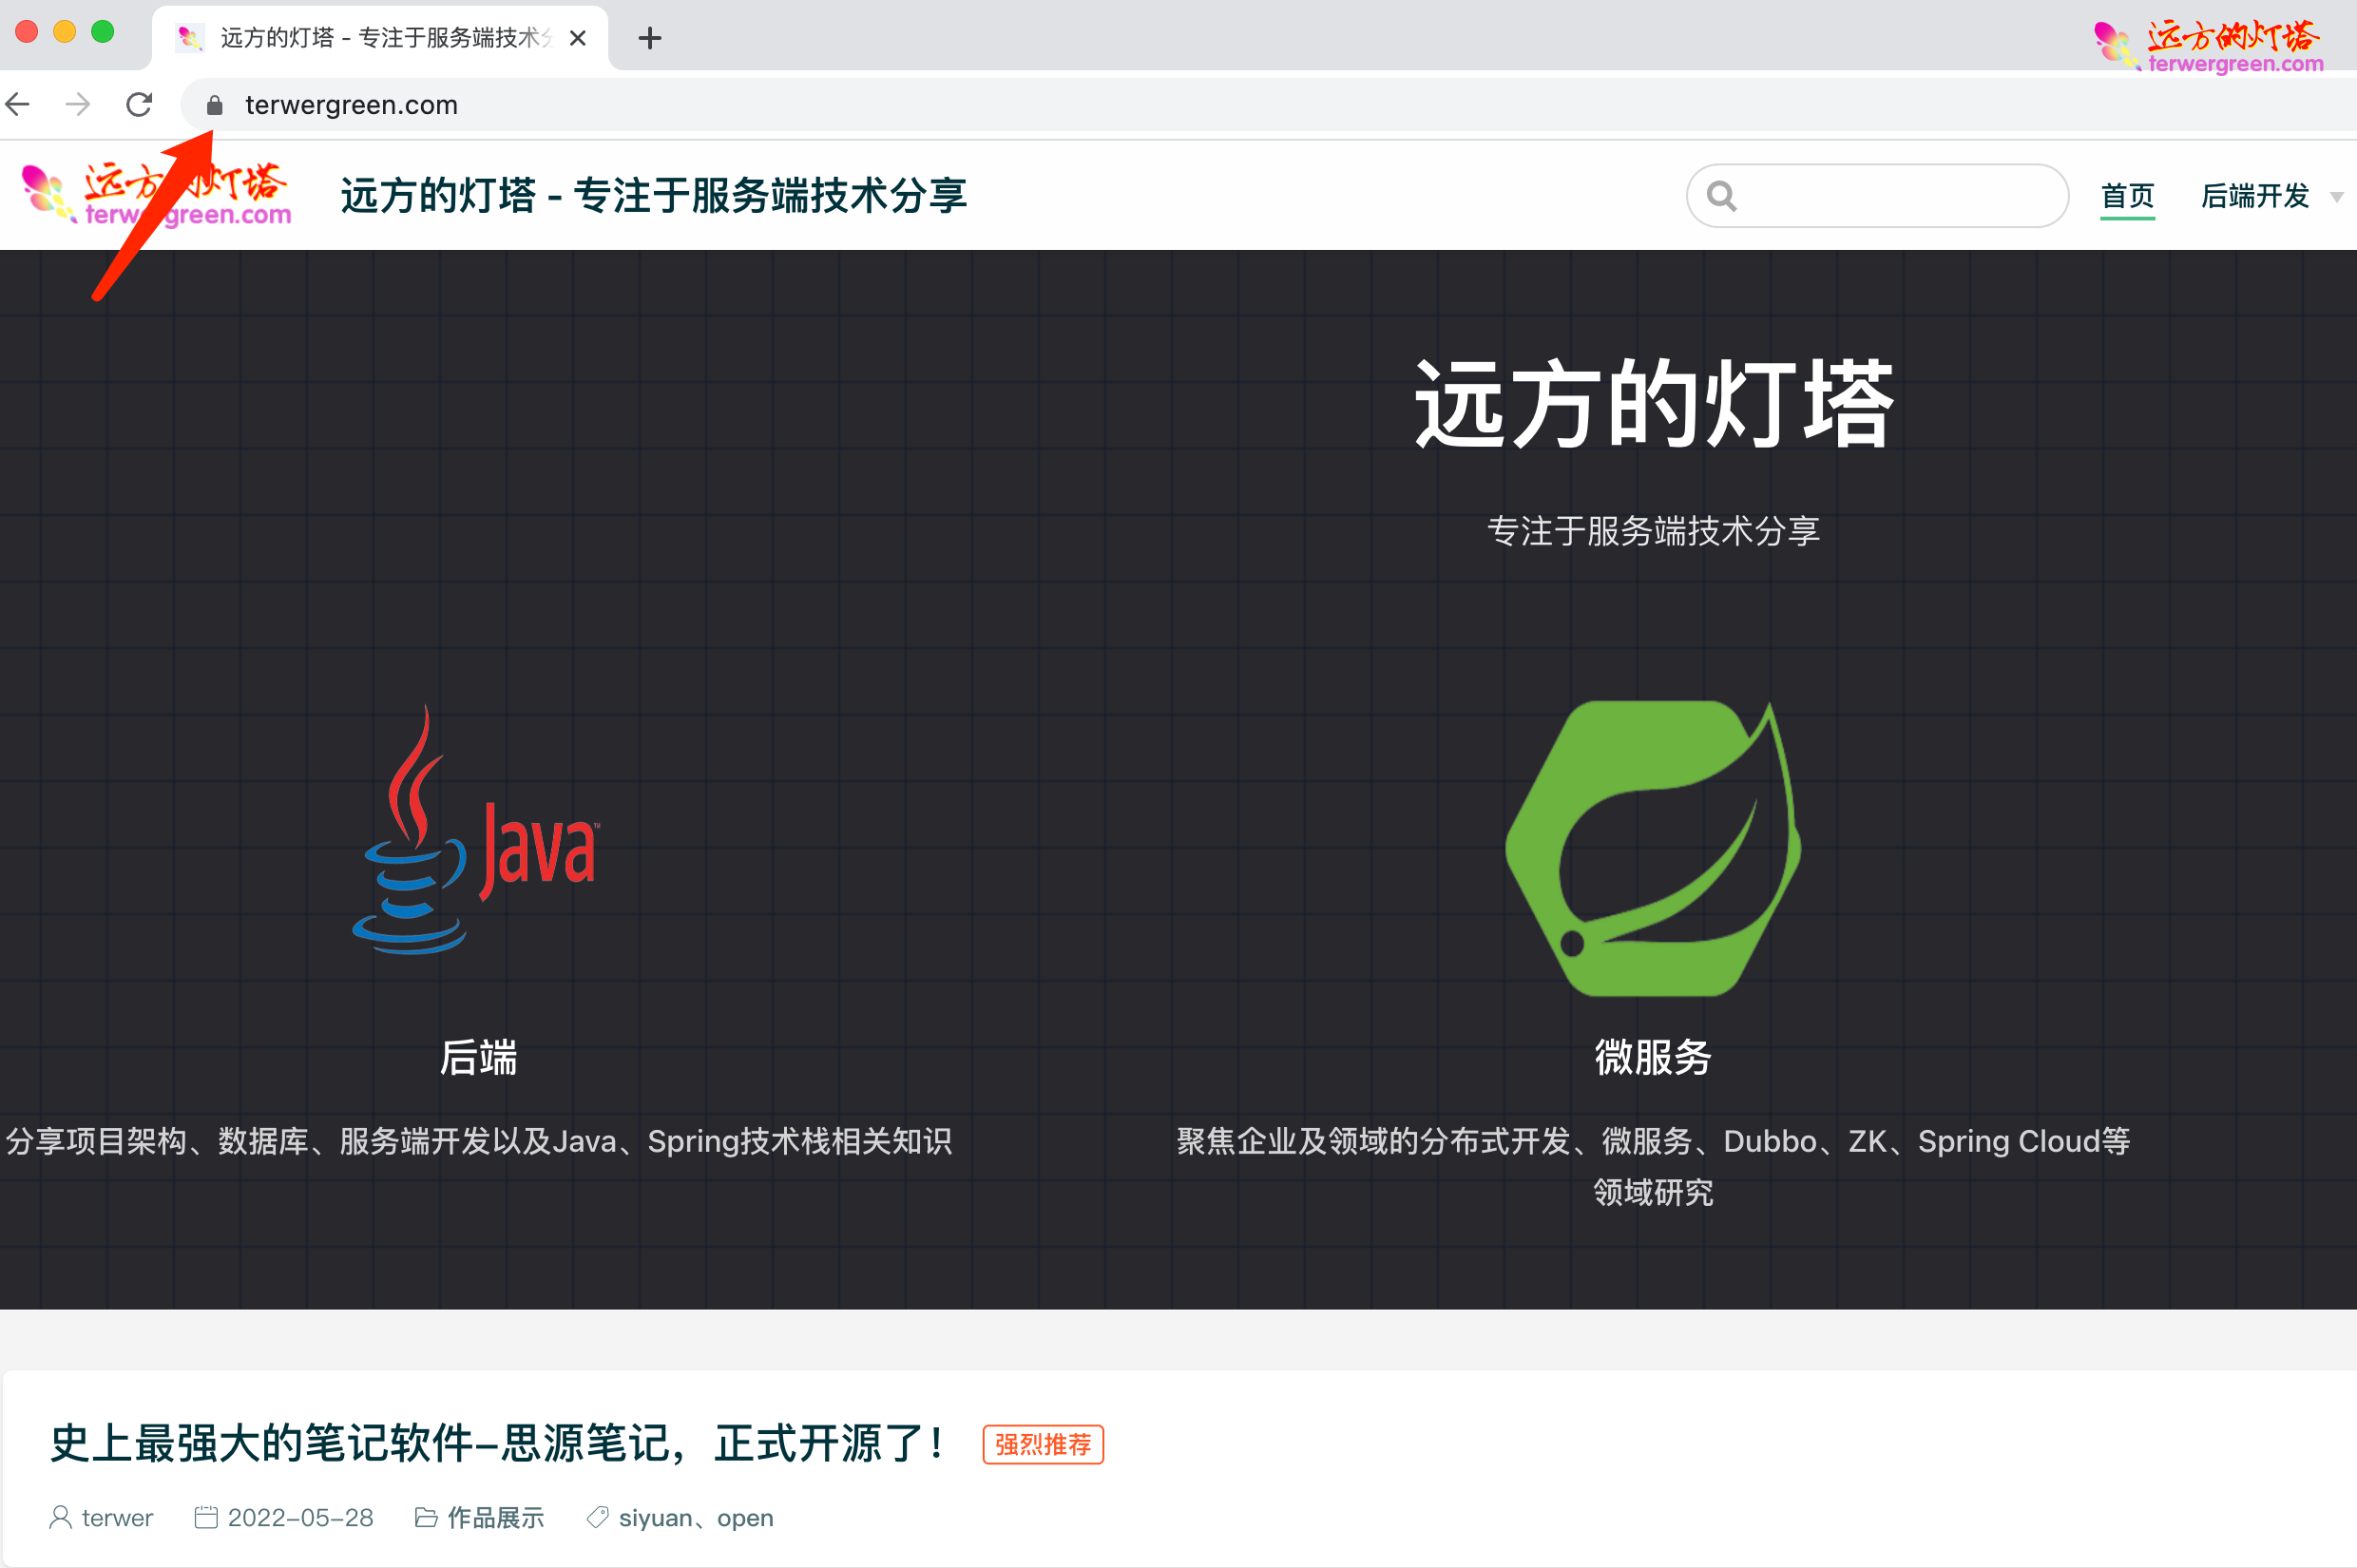
可以看到,网站前面已经有一把锁了,https 部署成功。Yeah~
后续
为了适应 https 的潮流,我们可以更进一步,将 http 重定向 https。
只需要加上下面的 301 跳转代码即可。
1
2
3
4
5
| server {
listen 80;
server_name terwergreen.com www.terwergreen.com;
return 301 https://$server_name$ request_uri;
}
|
后记
一个乌龙,之前一致无法访问,还以为是阿里云的问题,后来,无意间发现是我 docker 的443端口没开,汗。。。
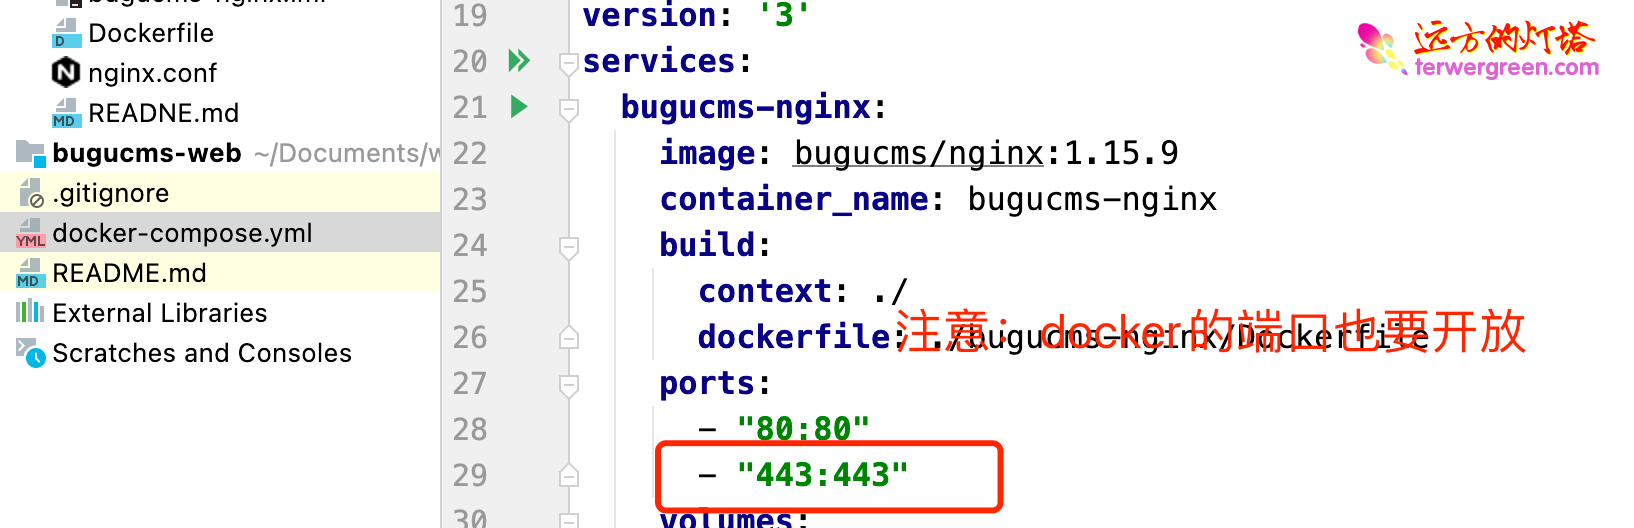
细心!细心!细心!切记~